Additional Tips for Successful Dent Removal:
-Work in a well-lit area with ample space to maneuver.
-Clean the dent area thoroughly to remove any dirt or debris.
-Apply heat to the dent area with a heat lamp or hair dryer to make the metal more pliable.
-Start with the smallest dents and work your way up to the larger ones.
-Be patient and take your time. Rushing the process can lead to further damage.
-If you’re unsure about anything, refer to the instruction manual or consult a professional.
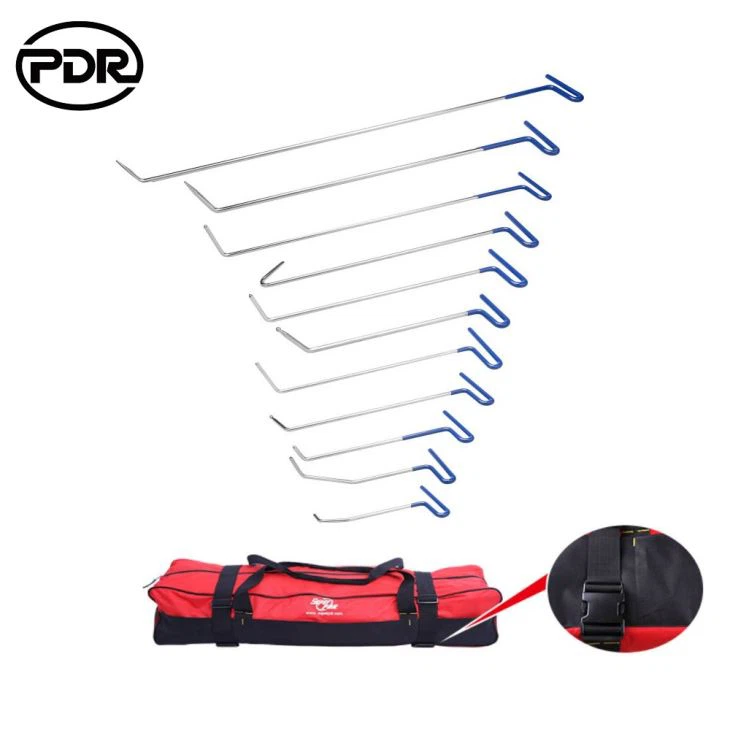
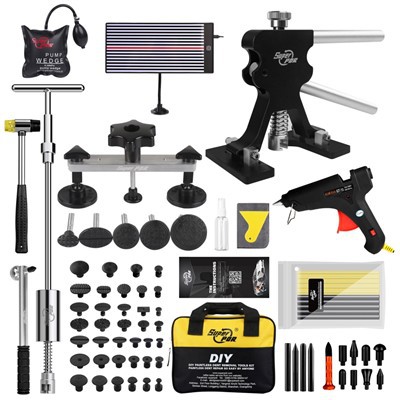
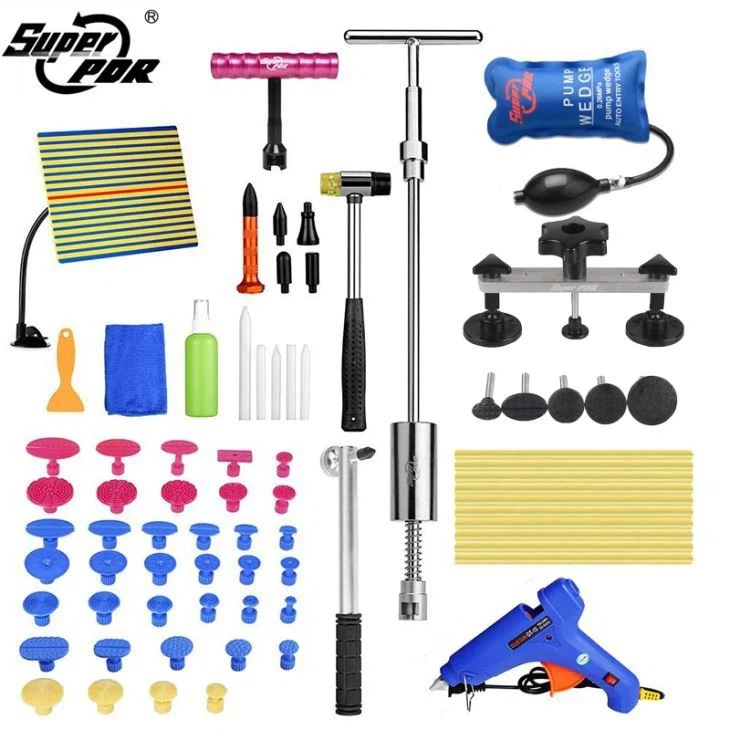
How to use this paintless dent repair kits?
1.Clean the dent with a clean wet cloth;
2.Mount the glue stick into the glue gun,pull the trigger to let the glue stick enter into the glue gun, connect the power source and preheat for 5 minutes;
3.Use a proper drawing gasket. Large dent requires a large drawing gasket. (Note: The larger the drawing gasket is, the larger the drawing force is);
4. Pull the trigger and apply the drawing gasket with extruded glue (The 4 holes of gasket should be applied with hot melt glue);
5. Fast place the drawing gasket with hot melt glue at the center of dent, press lightly until the glue cures and adheres (Let the glue cool for about 8 minutes. The cooling time should be less than 10 minutes and should be shorter slightly in winter);
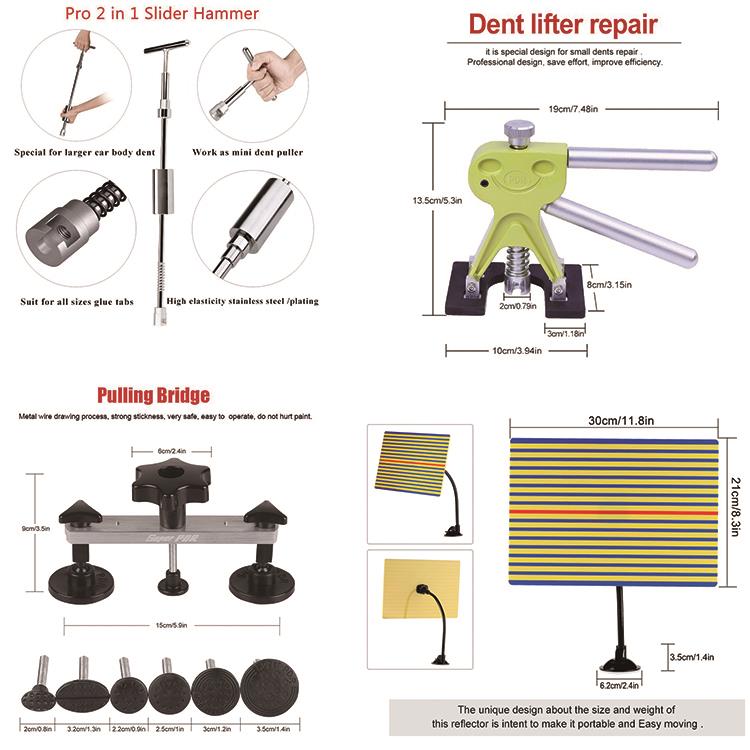
6. Align the T-shaped repairer and press the drawing gasket with hot melt glue, pull the sliding rod backwards to pull up the dent;
7. Check with a Line board. If dent still exists, knock it slightly with a flattening hammer or pen;
8. Clean the repaired place with a clean wet cloth.
User-Friendly Tools and Comprehensive Instructions
Our dent repair tools are designed with ease of use in mind, making them perfect for DIY enthusiasts of all skill levels. The comprehensive instruction manual provides step-by-step guidance, clear illustrations, and troubleshooting tips to ensure successful dent removal.
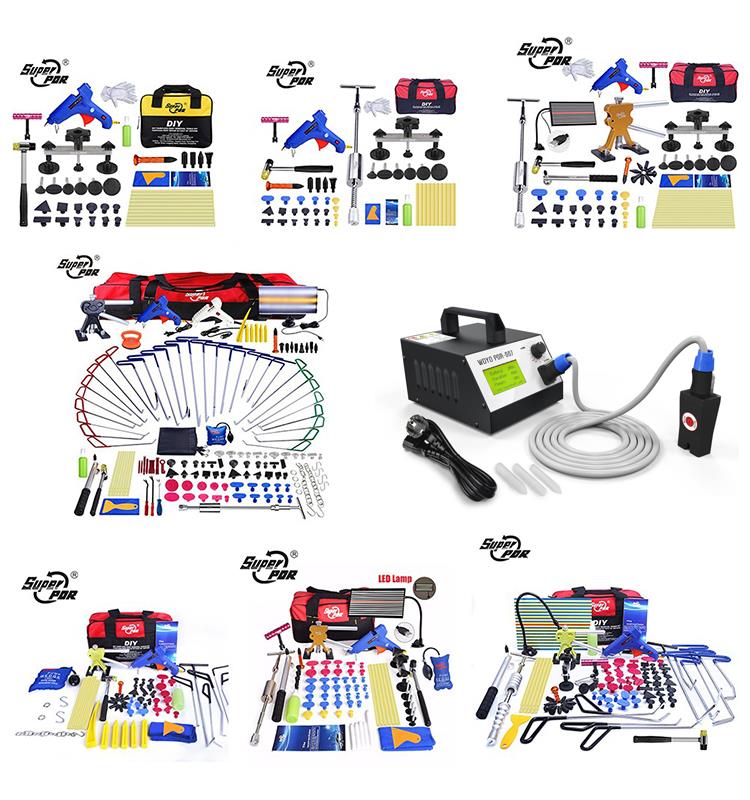
Other Related You May like
About US: