
Quick answer
Source OEM or private-label PDR tools by defining a model, the exact customization scope and a component list before requesting a sample. Approve the sample, packaging artwork, acceptance checks and replacement-part arrangement together. Use that approved configuration as the reference for the order and record any later substitutions in writing.
This workflow is for distributors, importers and private-label buyers developing a repeatable tool program. It separates a logo or packaging project from a change to the tool itself, because those projects require different specifications and checks.
What OEM and private label mean for a PDR order
A private-label project can retain an existing tool configuration while changing the approved branding, packaging or instructions. An OEM request can also involve a sample or drawing that changes geometry, materials, interfaces or the assortment. Write down the actual changes rather than relying on either term to define the order.
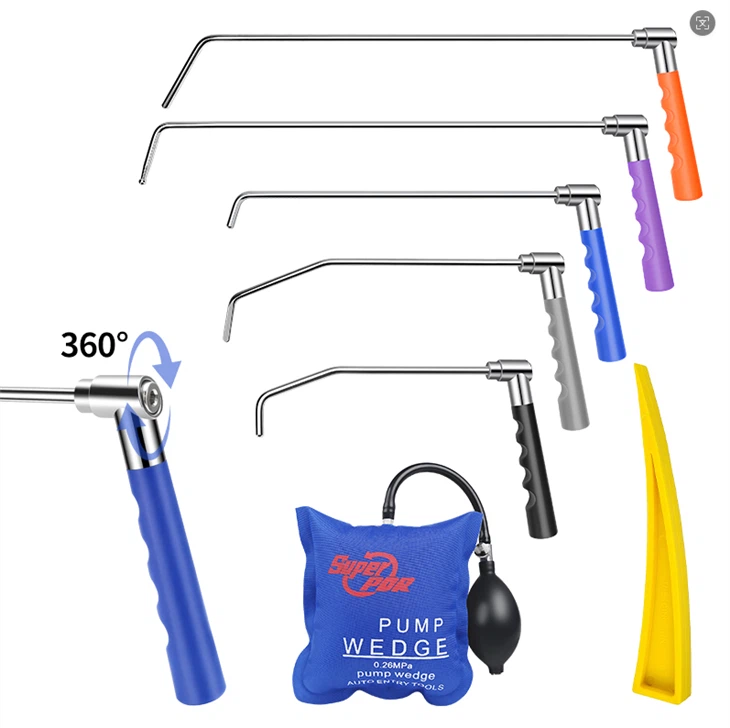
Super PDR’s MPT-Q016-B2B rod-set listing states that OEM is accepted. Its pulling-kit product FAQ describes production from customer samples or technical drawings, plus branded packaging subject to authorization and agreement. Use these catalog routes to request a defined project scope.
| Project scope | Describe in the RFQ | Approve before ordering |
|---|---|---|
| Branding and packaging | Logo placement, artwork, box format, language and label data | Actual-size proof and a packed sample |
| Existing-tool assortment | Each model, component quantity, included consumables and case layout | A revision-controlled BOM and counted sample |
| Tool modification | Drawing or reference sample, dimensions, interfaces and intended use | The revised sample and agreed functional checks |
| Powered-product configuration | Input, connector, power accessories and destination market | The complete supplied configuration and applicable documentation |
Step 1: Build an RFQ that different suppliers can answer consistently
A useful request for quotation identifies the buyer’s application and the deliverable. For a rod assortment, describe the access tasks and required profiles. For a glue-pulling kit, specify the pullers, tab assortment, adhesive and finishing tools. For a light, describe working positions and the complete power arrangement.
- Base model: product URL, model code and any previously approved revision.
- Quantité : sample quantity, first-order quantity per model and anticipated repeat-order quantity, stated separately.
- Changes: marked-up drawings or a list of changes to the base configuration.
- Pack-out: component quantities, nested sets, consumables, case, carton and instruction language.
- Destination: delivery location and required electrical or market documentation for the quoted configuration.
- Support: spare-part identifiers, claim evidence and the requested replacement process.
Ask suppliers to list exceptions alongside the quotation. A missing component, a different connector or an excluded power accessory can make apparently similar quotations incomparable. For a kit, use the BOM and packing-list method before evaluating the total price.
Step 2: Separate sample terms, order minimums and price breaks
A minimum order is not necessarily the quantity needed for a wholesale price or a customized run. For example, Super PDR’s MPT-QK0025 page lists a one-set minimum and a separate 50-set wholesale-price MOQ. Quote the exact model and customization scope instead of applying that quantity to the whole catalog.
For a sample request, agree the model, contents, sample charge, freight, dispatch target and what happens if a revision is required. The MPT-YK0518US FAQ describes samples subject to ready-stock availability and customer-paid sample and courier costs. A custom sample needs its own written arrangement.
Keep one-time artwork, packaging or tooling charges separate from the unit price where they apply. Record who holds the approved artwork and drawings, how a repeat order refers to them, and whether a change requires another sample. Confirm these commercial terms in the order, not in an informal image exchange.
Step 3: Inspect the sample as a complete kit or working system
Inspect what the eventual user will receive, including the case, small parts and instructions. A tool that looks correct in a photograph can still have an unsuitable connector or an incomplete accessory set. Compare the sample against the written specification and record each deviation.
| Product family | Sample checks to agree | Record for future orders |
|---|---|---|
| Rods and hooks | Profile, length, tip finish, handle condition and access fit on a practice setup | Model, drawing revision, dimensions and identified sample |
| Pullers and tabs | Adapter engagement, moving parts, tab list and compatibility with the chosen adhesive process | Component identities and a documented practice-panel trial |
| Inspection lights | Reflection, adjustment, mounting stability and supplied power arrangement | Complete configuration and the conditions of any runtime check |
| Packaged kit | Count, small-part retention, instructions, labels and case fit | BOM revision, layout photograph and packing checklist |
Use the lighting acceptance checklist for lamps and the glue-pulling diagnostic workflow for an adhesive trial. Set the acceptance method and limits before testing. A casual demonstration without recorded conditions is difficult to use when a later batch is disputed.
Step 4: Approve a reference sample and a document set
A golden sample is the identified physical reference accepted for the order. Give it an identifier and approval date, and keep its component list, photographs, drawings and functional-check record together. Both parties should know which configuration the reference represents.
The sample and documents answer different questions. The sample shows the accepted finish and assembly; the BOM names what must be present; the drawing states dimensions or interfaces; the test record describes function under stated conditions. A photograph alone cannot replace all four.
If a substitute is proposed, assess the affected function before accepting it. A different tab adapter changes compatibility; a different glue changes the required instructions; a different case can change small-part retention. Record the approved change and its effective order or lot so that after-sales staff can identify what was shipped.
Step 5: Approve the customer-facing package
Check the outer box, product label, instruction sheet and online product description against the same component list. If the kit count includes glue sticks, tips or subassemblies, make the count basis understandable. A buyer should not need to infer included parts from a promotional photograph.
Review the artwork at actual size for model legibility, component names and support details. Use branding you are authorized to apply. For powered products, request the documents relevant to the exact product configuration and destination; a generic certificate image or another model’s report does not establish coverage for the order.
Step 6: Link inspection, shipment and support
Before dispatch, check the production goods against the approved revision using the agreed inspection method. Record lot or order identification, component counts, functional findings and any deviations. Keep defect severity and remedies in the inspection agreement so that a missing critical part is not treated as a minor appearance issue.
For repeat orders, ask whether the configuration, component source or packaging changed. Resolve changes before treating the shipment as identical to the previous one. A replacement part should be identifiable without requiring the customer to purchase an entire kit again.
Use the PDR tool quality-control guide to organize the incoming inspection record. For missing parts, use the component-level claim process in the BOM guide.
Prepare a Super PDR sourcing enquiry
Send the base product URLs, quantity per model, destination, customization list, proposed BOM and requested sample scope through the Super PDR enquiry page or email superpdrb2b05@superpdr.com. For a drawing-based project, identify the revision and the features that must remain unchanged. The B2B FAQ covers the initial purchasing questions.